The Hidden Frustration of Winter Garden Lighting
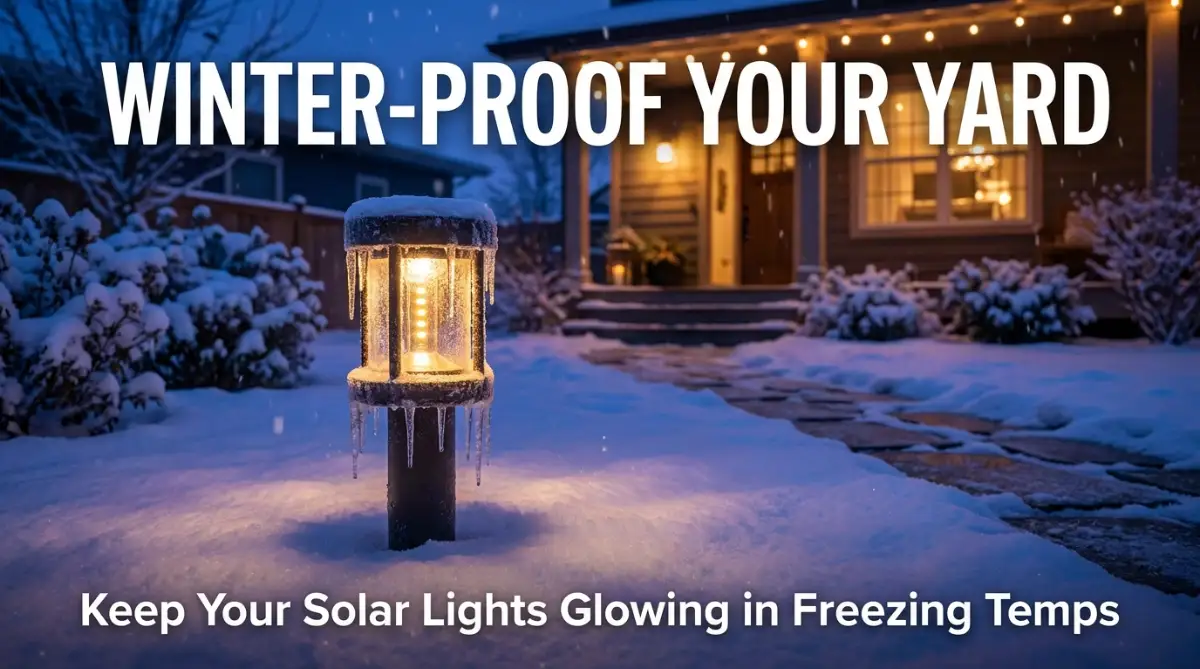
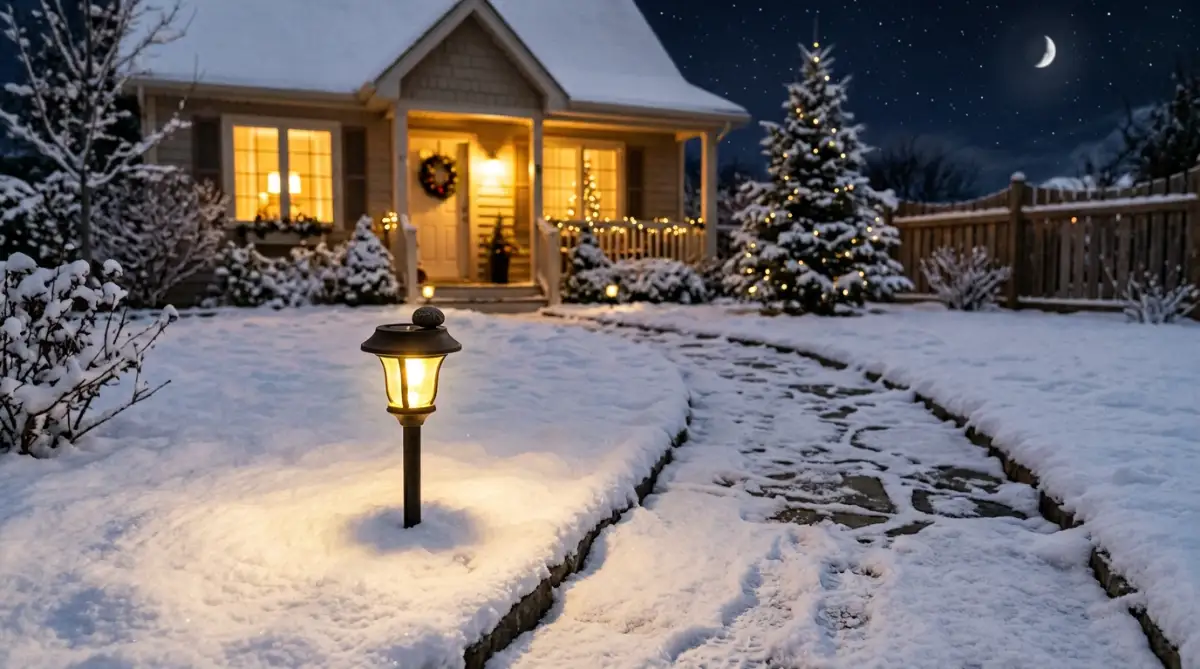
Let's be honest, nothing ruins the vibe of your beautiful winter yard quite like dead solar lights. You spend good money setting up that perfect pathway glow, only to find yourself tripping over a frozen garden hose in the pitch dark the moment December hits. I used to throw my "broken" fixtures in the trash every spring until I figured out what was actually going wrong inside them. The fix is surprisingly easy, and it rarely costs more than a few dollars.
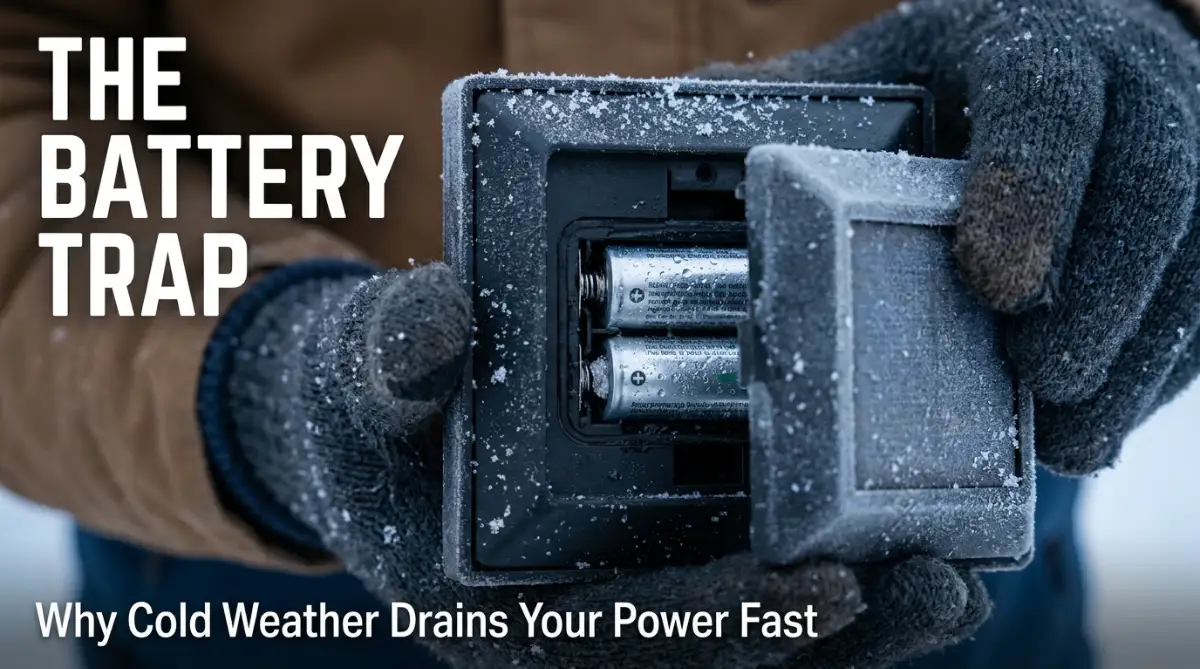
But as I looked closer, I realized the problem wasn't necessarily the lights themselves. I noticed a thick layer of frost coating the tiny panels on top. When I cracked open the plastic casing of one light, a small drop of freezing water dripped right onto my hand from the battery compartment.
This is a struggle that so many homeowners face the moment winter hits. We rely on these outdoor lights for safety, security, and to make our homes look inviting during those long, dark winter nights. But instead of a beautiful glow, we get dim, flickering bulbs or complete darkness.
What bothers me the most is the hidden cost that sneaks up on us every single spring. So many people end up throwing their dead fixtures into the trash, thinking they are broken beyond repair. We spend our hard-earned money buying brand new sets year after year.
This constant cycle of buying, installing, and throwing away is not just terrible for our wallets. It is also incredibly frustrating when you realize that just a little bit of preparation could have saved all that time and money.
Quick Fixes to Save Your Winter Lights:
- Swap out your cheap factory batteries (NiCd) for cold-resistant NiMH rechargeables.
- Seal the clear plastic seams with a dab of silicone to stop melting snow from frying your wires.
- Tilt your yard panels backward just a little bit to catch the low-hanging winter sun.
- Create a "shadow block" using a small rock to stop bright snow glare from confusing your light sensors.
What Actually Happens Inside Your Fixtures When Temperatures Drop
Before we start fixing the issue, we really need to understand exactly what goes wrong when the cold weather rolls in. It is easy to blame the lack of sunlight during short winter days. While less sun is definitely a factor, the real damage happens deep inside the internal components of your setup.
Think of your outdoor lighting like a human body trying to run a marathon in freezing weather. When we get too cold, our blood flow slows down, and our joints become stiff. Your rechargeable batteries react in a surprisingly similar way when exposed to extreme cold.
The chemical reactions inside standard rechargeable batteries slow down dramatically when the temperature drops below freezing. This means they simply cannot accept or hold a full charge, no matter how bright the sun shines that day. Even if your panels gather maximum energy, the battery physically cannot store it.
Then we have to talk about the silent killer of all outdoor electronics: condensation. As the temperature fluctuates from freezing nights to slightly warmer days, moisture begins to build up inside the plastic housing.
This trapped moisture eventually turns into ice right on top of your circuit boards and battery contacts. Once that water freezes and expands, it can permanently crack the delicate internal wiring. Rust and corrosion soon follow, slowly eating away at the metal connectors until the connection is completely dead.
Quick Winter Diagnostic Checklist:
If your light starts acting up on a freezing night, check these three things before assuming it is broken:
- Frost coating the top panel? -> Gently wipe it off with a dry microfiber cloth (Never use hot water!).
- The bulb is flickering? -> This usually points to a loose battery connection caused by the metal shrinking in the cold air.
- Turns on but dies in 10 minutes? -> Your battery is cold-shocked. It is definitely time for a replacement.
Overcoming The Winter Sun Angle Problem
Another huge factor that most people completely ignore is the changing position of the sun. In the middle of summer, the sun sits high up in the sky, beating down directly onto your outdoor panels. But during winter months, the sun drops much lower on the horizon.
Because the sun is coming from a lower angle, the shadows in your yard become significantly longer. A tree or a neighbor's fence that never blocked your light in July might cast a huge, dark shadow over your front yard in December.
This means your panels are operating in the shade for most of the day. They are already struggling with cold batteries, and now they are being starved of the direct UV rays they desperately need to function.
Actionable Steps to Winter-Proof Your Setup Today
Now that we understand exactly why our outdoor lighting fails, we can take some incredibly simple steps to stop it from happening. You do not need to be an electrician to protect your investment. You just need a solid plan and a few basic household items.
Strategy 1: The Battery Swap Technique
One of the most effective things you can do is change the power source inside your units before the deep freeze hits. Most budget-friendly outdoor lights come with very cheap NiCd (Nickel Cadmium) batteries pre-installed. These specific batteries perform terribly in freezing temperatures and will almost certainly let you down.
Instead, you should swap them out for high-quality NiMH (Nickel-Metal Hydride) rechargeable batteries. These are much better equipped to handle extreme temperature fluctuations. They hold their charge significantly better when the air turns freezing cold.
Pro Tip: I learned the hard way that you should always check the exact voltage required before swapping power sources. I once put standard alkaline batteries into my outdoor units thinking they would work better in the cold, and I ended up completely frying the internal circuit boards! Always stick to rechargeables that match the manufacturer's voltage recommendations.
Let’s look at a quick breakdown of how different power sources handle the cold:
Strategy 2: Blocking Out Harmful Moisture
We already established that moisture is the enemy of your internal wiring. To prevent water from getting inside, you need to create a physical barrier. You can do this easily with a small tube of clear silicone sealant.
Take a close look at where the clear plastic top meets the main body of the unit. You will often find a tiny gap where the two pieces of plastic snap together. This tiny gap is exactly where melting snow and freezing rain sneak inside.
Take a small amount of clear silicone and gently run it along that connecting seam. You want to create a completely watertight seal around the edges. Just be incredibly careful not to get any of the silicone directly onto the top solar panel, as this will block the sun's rays.
You should also check the battery compartment door underneath the unit. Many high-end models have a small rubber gasket around the door to keep water out. If that rubber ring looks cracked or dry, rub a tiny drop of petroleum jelly onto it to restore its flexibility and improve the seal.
Strategy 3: Routine Panel Clearing and Angling
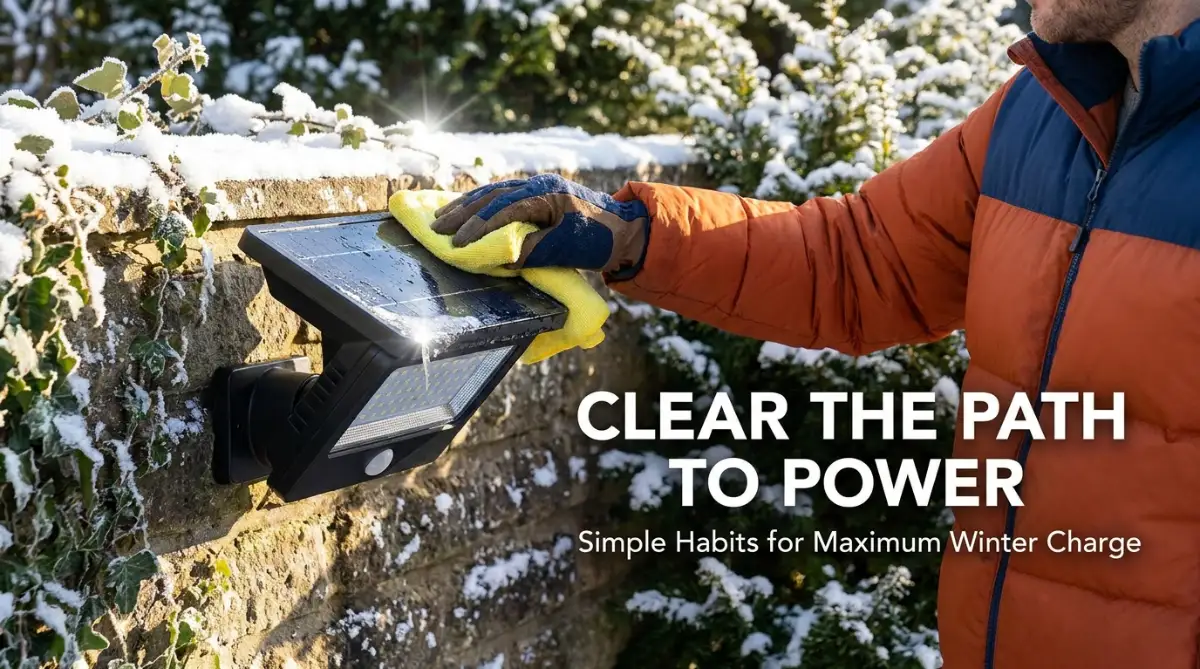
You would be amazed at how much power is blocked by a thin layer of winter dust, salt, and frost. Even a light dusting of snow acts like a thick blanket, completely shutting off the charging process. If your panels are dirty, your batteries will slowly drain to zero over a few days.
You need to get into the habit of gently wiping down the top panels every time you shovel your driveway. Use a soft, dry microfiber cloth to wipe away the snow. Never use hot water to melt the ice off the top. The sudden temperature change can shatter the cold plastic instantly.
If you have adjustable units, like spotlights that point at your house, physically tilt them backward slightly. Because the winter sun is lower on the horizon, tilting the panels back helps them catch those angled rays much more effectively.
If you want to see exactly how to properly maintain and clean your outdoor units without scratching the delicate surfaces, check out this excellent visual breakdown below. The creator shows a brilliant technique for removing stubborn frost without using harsh chemicals.
My Personal Maintenance Hack:
I keep a small, soft-bristled makeup brush right by my front door. Whenever I walk outside to check the mail on a winter morning, I just give the top of each solar panel a quick sweep. It takes about ten seconds, completely removes overnight frost before the morning sun melts it, and stops water from creeping down into the casing. You do not need any heavy scraping tools!
Strategy 4: Knowing When to Retreat
Sometimes, the smartest way to protect your investment is to know when to simply bring them indoors. If you live in an area that experiences brutal blizzards or weeks of sub-zero temperatures, leaving your gear outside might not be worth the risk.
Heavy snow accumulation can bury your path lights completely, making them useless anyway. The sheer weight of compacted snow from a plow can easily snap the plastic stakes right in half. If a major winter storm is in the forecast, take ten minutes to pull them out of the ground.
If you do decide to store them in your garage or basement for the winter, you absolutely must remove the batteries first. If you leave the batteries inside a dark box for four months, they will completely drain and potentially leak battery acid all over the internal contacts.
Simply switch the units to the "off" position, pop the batteries out, and store everything in a dry place. When spring finally arrives, you can put the batteries back in, and your units will be ready to shine brightly on the very first night.
Common Myths About Winter Solar Care
Let’s clear up a few massive misunderstandings that cause people to ruin their outdoor setups. There is a lot of bad advice out there regarding winter maintenance. Following the wrong advice can actually cause more damage than the cold weather itself.
Myth: The cold weather damages the solar panel itself.
Reality: The actual photovoltaic cells on top of your unit love the cold! Solar panels actually generate electricity more efficiently in cooler temperatures. The problem is entirely with the battery struggling to accept the charge, not the panel struggling to make it.
Myth: You should wrap the units in plastic bags to keep them warm.
Reality: Wrapping your lights in plastic is a terrible idea. This creates a miniature greenhouse effect that traps condensation directly against the electronics. The trapped moisture will quickly cause rust, and the plastic bag will block the UV rays from charging the battery.
Myth: Leaving them buried in the snow is fine as long as they are turned off.
Reality: Even when switched off, freezing moisture can seep into the casing. When the water freezes and expands, it will literally crack the housing from the inside out. If they are buried deep in the snow, they need to be brought inside.
By understanding the true behavior of your outdoor electronics, you take back control of your yard. You stop wasting money on replacements and start enjoying a beautifully lit pathway, even on the coldest, darkest nights of the year.
Pro-Level Strategies for Maximum Winter Performance
If you want to completely stop replacing your expensive yard fixtures every single spring, you need to go beyond just changing the batteries. There are some incredibly effective habits you can build right now to keep your setup running flawlessly through the darkest months. You do not need to be an engineer to pull these off.
Most people completely forget that these little garden units are actually miniature power plants. When you take a moment to understand how sunlight converts into household electricity, you realize that temperature plays a massive role in that conversion process. The colder the ambient air gets, the harder your equipment has to work to stay alive.
The Thermal Mass Advantage
One of my absolute favorite tricks for keeping my outdoor gear safe involves a simple concept called thermal mass. Basically, certain materials hold onto heat much longer than others. If you place your lighting in the middle of a frozen, open lawn, it takes the full beating of the freezing wind all night long.
Instead, try relocating your units slightly closer to your home's brick walls, stone pathways, or concrete driveways. These heavy materials absorb heat from the sun during the short winter days. As the sun goes down, that brick and concrete slowly release that trapped heat back into the air.
By simply moving your path lights a few inches closer to a brick border, you can keep the internal battery compartment just a few degrees warmer. According to research on battery temperature management by the Department of Energy, keeping power cells even slightly above absolute freezing drastically improves their ability to discharge power evenly. That tiny temperature shift is often the difference between a light that stays on for one hour versus one that shines all night.
Combating the "Snow Glare" Sensor Trick
Have you ever looked out your window on a freezing winter night and noticed that some of your fixtures are completely dark, even though they charged in full sun all day? The problem might not be a dead battery at all. The issue is likely a confused light sensor.
These units rely on a tiny component called a photoresistor to tell them when the sun goes down. When it gets dark, the sensor triggers the bulb to turn on. However, fresh white snow is incredibly reflective. It acts like a giant mirror stretching across your entire yard.
If you live near bright streetlights, or if your neighbor leaves their strong porch lights on, that light will bounce directly off the white snow and hit your garden sensors. The sensors get tricked into thinking it is still daytime, so they completely refuse to turn on your bulbs. It is a highly frustrating situation when your gear is fully charged but refuses to operate.
Just like software engineers have to carefully spot and fix data bias in AI systems to prevent machines from making false assumptions, you need to fix the false assumptions your light sensors are making. You can easily solve this by creating a tiny shadow block.
Simply place a small decorative rock or a low-sitting winter plant right between the sensor and the strongest source of reflective glare. By casting a tiny, permanent shadow over that specific sensor, you ensure it knows exactly when the sun goes down, regardless of how bright the snow is reflecting.
The Winter Contact Cleaning Routine
Even if you seal the outside edges perfectly, a microscopic amount of condensation can still happen inside the battery compartment. Over several cold weeks, this invisible moisture creates a thin, clear layer of corrosion directly on the metal battery contacts. This invisible layer blocks the electrical current from flowing.
You might assume the battery is totally dead, but the power just cannot push through that dirty metal contact. To fix this, you should perform a quick internal cleaning halfway through the cold season. Pop the batteries out and grab a regular cotton swab dipped in white household vinegar.
Gently rub the metal springs and flat contacts inside the battery housing with the vinegar. The mild acid easily eats away any microscopic rust or hard water buildup. Once it dries, put the batteries back in. You will likely see an immediate improvement in how bright your bulbs glow. If you want more practical maintenance tips like this, you can always check out our main home improvement resource hub.
The Hidden Winter Traps That Destroy Expensive Gear
We all want to keep our homes looking beautiful and safe, but sometimes our good intentions accidentally ruin our best equipment. Taking care of outdoor electronics requires a gentle touch. When we rush through our cold-weather chores, we end up making mistakes that completely destroy the internal circuitry.
I have personally ruined quite a few beautiful glass fixtures by doing things I thought were helpful at the time. Learning what not to do is just as important as learning the right maintenance steps.
The Chemical De-Icing Disaster
When your driveway gets slippery, your first instinct is probably to grab a giant bag of rock salt or chemical de-icer and throw it everywhere. We do this to protect our families from slipping, which is a great instinct. But we completely forget about the fragile electronics lining the edge of that same walkway.
As the ice melts, it creates a highly corrosive, salty slush. When cars drive by or when you aggressively shovel, that salty slush splashes directly onto the base of your path lights. The salt immediately begins eating away at the plastic housing and the metal mounting stakes.
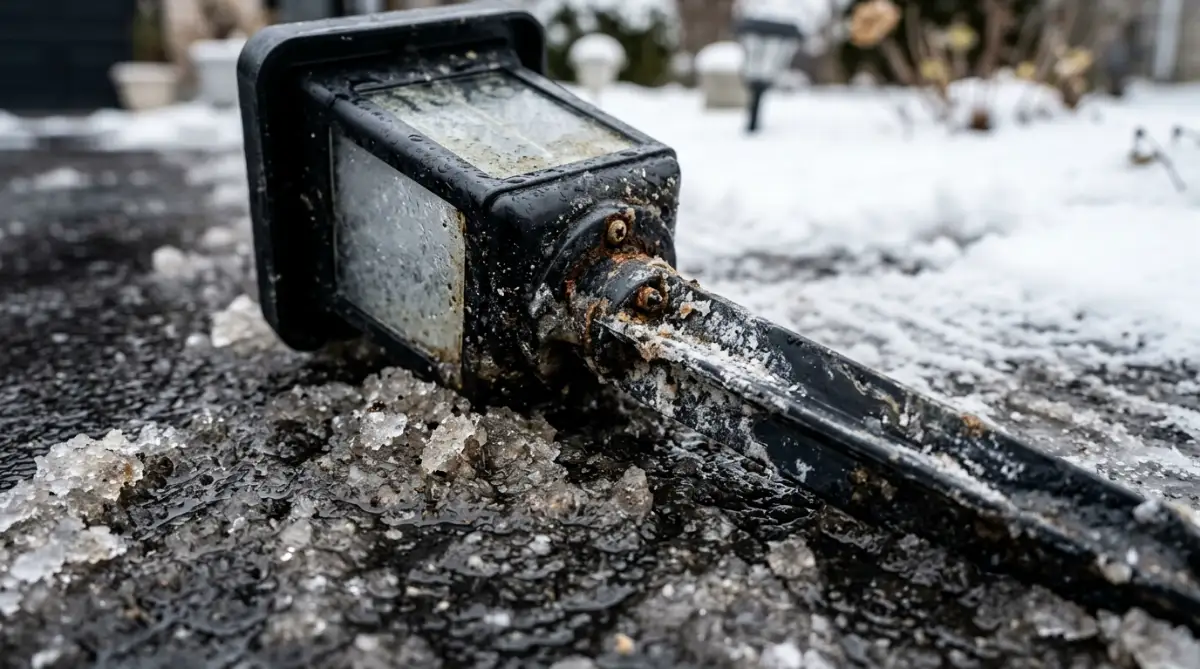
If that salty water seeps up into the battery compartment, the chemical reaction will destroy the motherboard within a matter of days. To prevent this entirely preventable disaster, you should temporarily pull your units back about two feet from the edge of the driveway before spreading any heavy salt. The experts at the National Association of Landscape Professionals strongly advise keeping harsh de-icing chemicals far away from sensitive garden installations to prevent rapid material breakdown.
The "Ice Smashing" Tragedy
Waking up to find your beautiful solar panels covered in a thick sheet of hard ice is incredibly annoying. Your first instinct might be to grab the edge of your plastic snow shovel or the handle of an ice scraper and give the panel a firm tap to break the ice. You should never, ever hit the top of your units with a hard tool.
The photovoltaic cells sitting right under that thin plastic cover are essentially delicate pieces of glass. Even a gentle tap in freezing weather can send microscopic spiderweb fractures spiderwebbing across the entire panel. You might not even see the cracks at first, but the damage is already done.
Once those micro-fractures happen, water will easily seep inside during the next rainstorm. The unit will short out completely. Instead of smashing the ice, take a soft towel soaked in lukewarm water and gently lay it over the ice block for about a minute. The ice will melt enough for you to gently slide it off with your bare hand, leaving the delicate panel perfectly intact.
Leaving Dead Units Out in the Cold
This is perhaps the most common trap people fall into. You notice that a specific light has stopped working in December. You figure you will just deal with it when the weather warms up in April. So, you leave the completely dead unit sitting in the freezing snow for four months straight.
When a rechargeable battery is completely drained of power, its freezing point actually changes. A fully charged battery resists the cold quite well. But a completely dead battery will freeze solid much faster. When the liquid chemicals inside that dead battery freeze, they expand aggressively.
This expansion bursts the sides of the battery, leaking highly toxic battery acid all over the internal wiring. By the time spring arrives, that unit is heading straight to the garbage bin. Just like you would actively find and fix critical security vulnerabilities before a hacker ruins your computer, you must bring dead units inside immediately before the cold ruins them permanently.
Keep Your Yard Glowing Safely Until Spring
Taking care of your outdoor lighting does not have to be a stressful or time-consuming chore. By simply understanding how the cold affects your batteries, blocking out harmful moisture, and being careful with your winter shoveling routine, you can easily protect your investment. You are no longer at the mercy of the freezing temperatures.
You now have a solid, practical game plan to keep your pathways beautifully lit. Remember to swap out those cheap factory batteries for high-quality replacements that can actually handle the temperature drops. Keep those tiny top panels wiped down with a soft cloth, and always angle them slightly to catch the low winter sun.
Small, consistent habits are exactly what keep your property looking amazing year-round. It feels so rewarding to look out your front window during a freezing blizzard and see your garden glowing warmly through the falling snow. For more inspiration on keeping your home in top shape, you can browse through the latest guides on our platform.
I honestly used to dread the winter season because of how dark and gloomy my yard would get, but applying these simple steps completely changed my perspective. My home feels so much safer and more welcoming now, and I am saving a ton of money not buying new fixtures every spring. You can absolutely achieve this same peace of mind starting today!
Common Questions About Winterizing Outdoor Lighting
Do I need to turn my solar lights off during the winter?
You do not strictly need to turn them off if you live in a mild climate where they can still receive direct sunlight. However, if they are buried under deep snow drifts or if you are storing them in the garage, you must switch them to the "off" position to prevent deep battery drainage.
Can snow completely ruin a solar panel?
Snow itself will not ruin the panel, but the heavy weight of compacted ice can definitely crack the plastic covering over time. The real danger happens when melting snow turns into liquid water and sneaks into the unsealed cracks of the battery compartment.
Why do my lights only stay on for an hour in January?
During January, the sun sits much lower in the sky and the daylight hours are drastically shorter. This means your panels are collecting a tiny fraction of the energy they normally get in July, resulting in a much shorter running time at night.
Is it safe to use WD-40 to clean the battery contacts?
You should avoid using heavy oil-based lubricants like WD-40 directly on delicate electronic circuit boards. It is much safer to use a simple cotton swab dipped in white vinegar to safely dissolve rust and corrosion from the battery springs.
Disclaimer: The information provided in this article is for educational and informational purposes only. Always refer to the manufacturer’s specific guidelines and instruction manuals before modifying, cleaning, or changing batteries in any electrical device. The author and publisher are not responsible for any damage or injury resulting from the application of these maintenance tips.