The Harsh Reality of Dark, Freezing Winter Nights
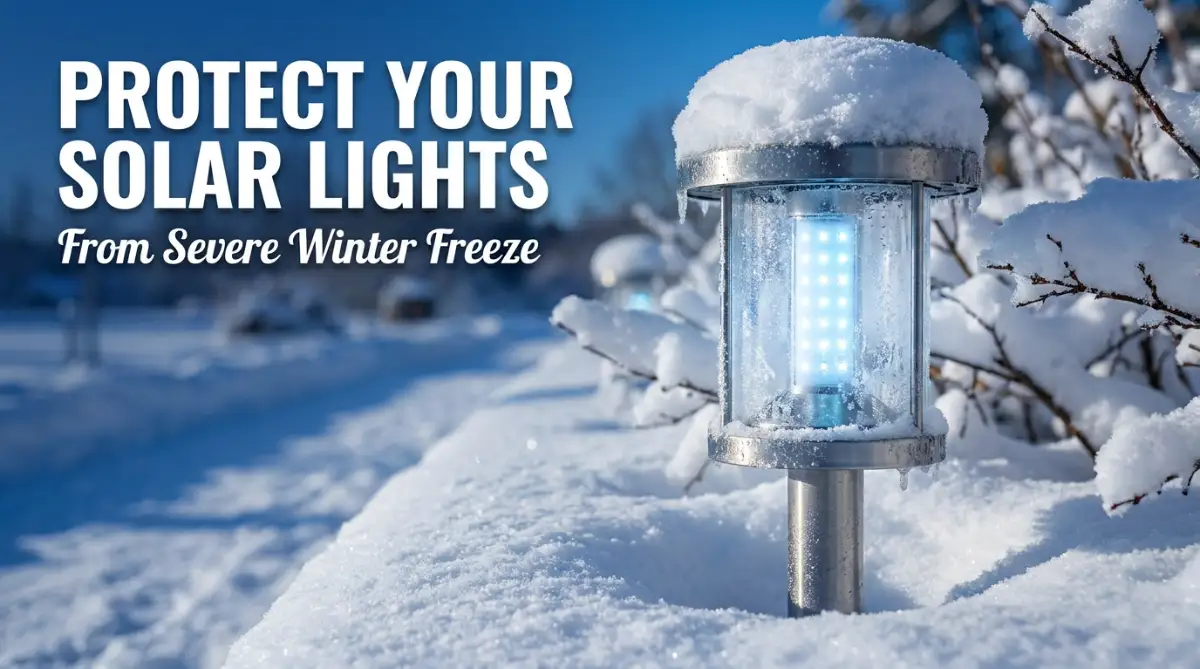
You step outside at 6 AM, coffee in one hand, only to nearly slip on a patch of ice because your brand-new outdoor lights are completely dead again. Sound familiar? I have lost count of how many plastic path lights I threw in the garbage before I figured out they were not actually broken. The freezing cold was just playing a nasty trick on the electronics. Instead of buying a whole new set this spring, let me show you exactly how I stop the winter from ruining my outdoor lighting.
My neighbors probably wondered why my front yard suddenly looked like a pitch-black void. Walking to my car at 6 AM became a dangerous guessing game of avoiding slippery ice patches in the dark. I felt completely defeated because I specifically bought these lights to make my winter mornings easier and safer. Instead, they became just another annoying problem I had to fix.
This is a struggle so many homeowners face the moment temperatures drop below freezing. We expect our outdoor lighting to just work magically all year round without any extra help. When they stop working, it completely ruins our mental peace and leaves our homes looking abandoned in the dark.
The cold truth is that extreme winter weather is an absolute nightmare for small electronic devices. The continuous cycle of freezing and thawing creates hidden moisture that slowly destroys the delicate wiring inside.
Quick Action Plan: Save Your Lights Today
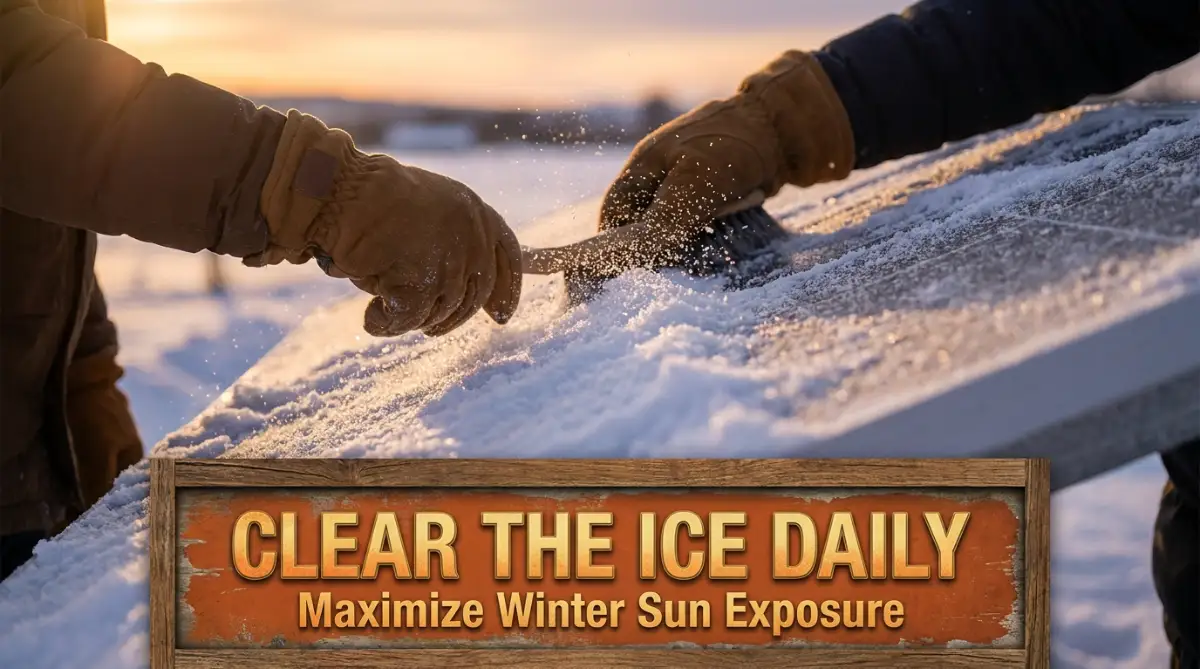
- Clean them off: Brush snow away gently; never use hot water to melt ice.
- Seal the gaps: Use a $5 tube of clear silicone or nail polish to block freezing moisture.
- Store smart: If bringing them indoors, always turn the switch off and take the batteries out first.
- Upgrade the power: Swap cheap factory batteries for high-capacity NiMH cells built for the cold.
Why Cold Weather Destroys Your Lighting Equipment
Understanding what exactly happens inside your lighting fixtures during a hard freeze is the first step to saving them. The problem is not just the lack of sunlight during short winter days. The real enemy is the physical change that happens to water and battery chemicals when temperatures hit rock bottom.
The Hidden Danger of Expanding Ice
If you have ever left a glass bottle of water in the freezer, you know exactly what happens when water turns to ice. It expands with an unbelievable amount of force. Your outdoor lighting fixtures are constantly exposed to rain and melting snow.
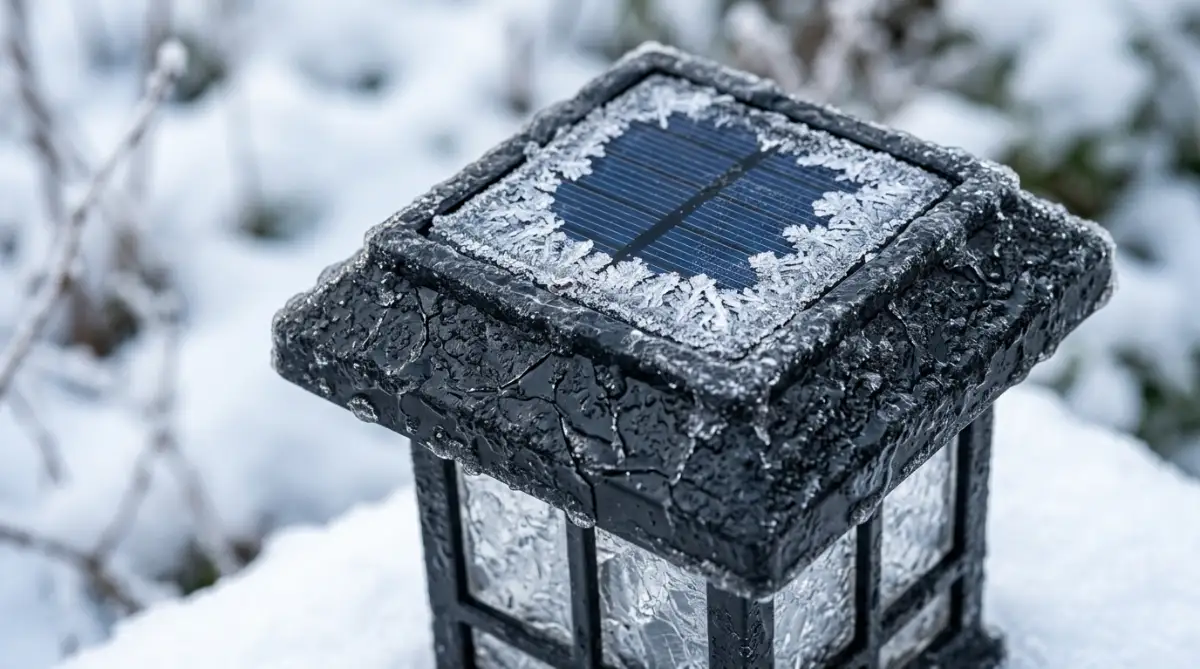
Moisture easily sneaks into the tiny seams of the plastic housing during the day. When night falls and the temperature drops, that trapped water freezes instantly. This expanding ice forces the plastic seams apart, causing micro-cracks that you might not even notice at first.
Over time, these tiny cracks become major entry points for even more water. Eventually, the water reaches the main circuit board and completely shorts out the system. This is exactly why your path lights suddenly refuse to turn on, even after a perfectly sunny day.
What Freezing Does to Rechargeable Batteries
Most standard outdoor garden fixtures use basic NiMH (Nickel-Metal Hydride) or standard lithium-ion rechargeable batteries. These power cells are highly sensitive to extreme temperature changes.
When the weather gets too cold, the chemical reactions inside the battery slow down drastically. This means the battery physically cannot absorb or hold a full charge, no matter how much sunlight the panel receives.
If a deeply discharged battery freezes solid, the internal cells will rupture and leak battery acid. Once a battery leaks inside the housing, it corrodes the metal contact points and ruins the entire unit permanently. Protecting the battery is just as important as protecting the outer glass panel.
The Real Cost of Winter Neglect (My Personal Math):
Let us look at the actual money you lose by ignoring your lights.
- Average cost of a decent 6-pack of solar path lights: $45
- Throwing them out every spring for 5 years: $225
- Cost of a tube of silicone and bringing batteries inside: $5
- Total money saved: $220.
- You can literally pay for a nice dinner out just by taking ten minutes to winterize your setup!
Myth vs. Reality in Winter Maintenance
Let us clear up some common misunderstandings about winter lighting care.
- Myth: You should just leave them alone because they are designed for the outdoors.
- Reality: Most affordable models are only rated for mild rain, not heavy blizzards and sub-zero freezes.
- Myth: The winter sun is too weak to charge anything anyway.
- Reality: Solar panels actually run highly efficiently in cold weather, as long as the panel is clean and the battery is protected.
- Myth: You must pack every single light away in a box until spring.
- Reality: With the right adjustments, you can safely leave your best lights out to brighten your snowy pathways.
Smart Strategies to Winterize Your Outdoor Setup
Now that we know exactly what is destroying our equipment, we can take immediate action to stop it. You have two main choices when winter approaches. You can either pack them away safely, or you can prepare them to survive the harsh outdoor conditions.
Strategy 1: The Proper Way to Store Them Indoors
If you live in an area that gets buried under feet of heavy snow, bringing your fixtures inside is often the smartest choice. However, you cannot just toss them into a dark garage box and forget about them. Doing that will permanently kill the batteries by springtime.
First, use a damp cloth to wipe down the entire outer housing to remove dirt, mud, and hard water stains. Dry them completely with a microfiber towel to ensure no moisture goes into the storage box.
Next, you must turn the power switch to the "OFF" position. If you leave them on in a dark box, the battery will drain completely to zero and stay dead for months.
Here is my personal advice for the best storage results.
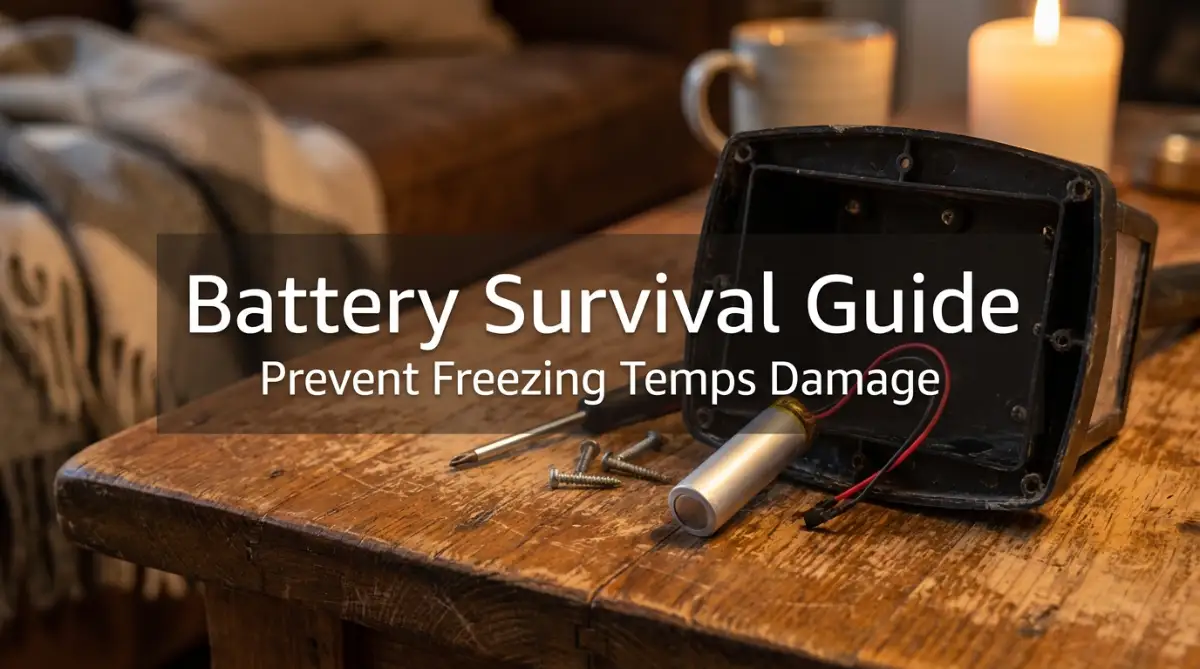
I once threw all my expensive pathway lights into a damp basement corner without taking the batteries out, and half of them were rusted by spring. My advice is to physically open the battery compartment and remove the batteries entirely before storing them indoors. This simple change saved me from ruining another set of lights, and I store the batteries in a small plastic bag at room temperature.
Strategy 2: Prepping Your Lights to Stay Outside
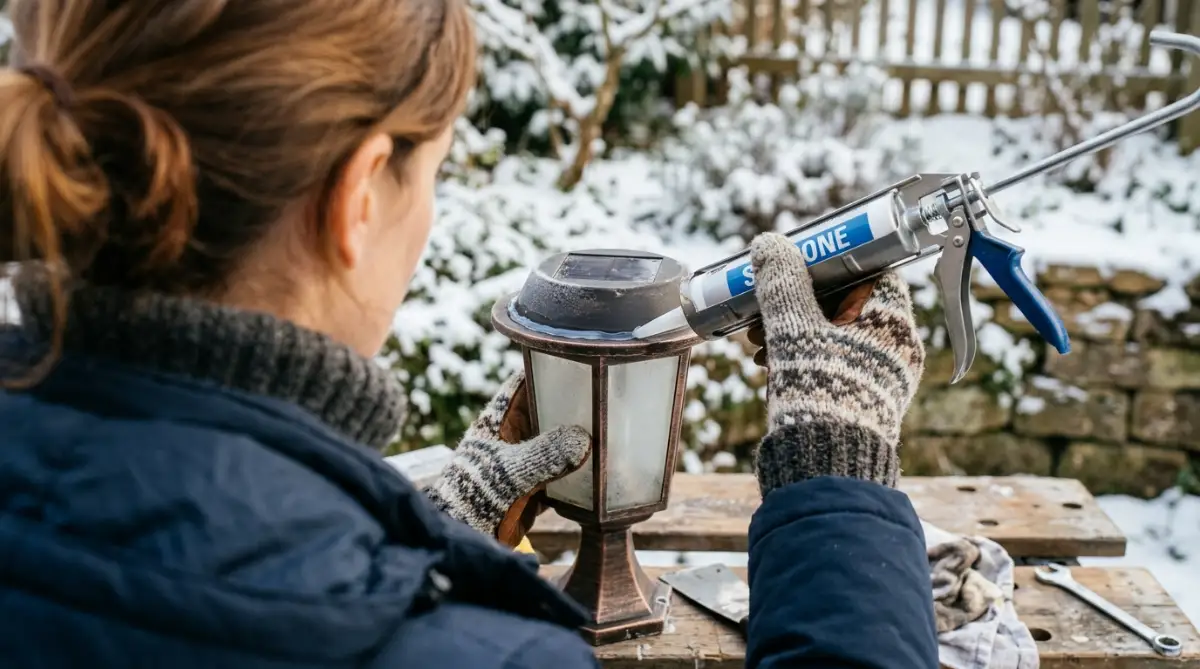
If you want to keep your yard illuminated through the snowy months, you must build a strong defense against the elements. Start by inspecting the rubber seals around the main glass or plastic cover.
If the rubber looks dry, cracked, or loose, it will not keep the freezing moisture out. You can run a very thin bead of clear silicone sealant around the edges to create a perfectly waterproof barrier. This small $5 tube of silicone can easily save hundreds of dollars in lighting equipment.
Quick Diagnostic Test: Is It Dead or Just Frozen?
Before you throw a failing light away, try my two-minute test:
- Bring the completely "dead" light inside your warm house.
- Put it in a dark closet for two hours.
- If it suddenly turns on, your battery is just too cold to function outside. You just need to upgrade to cold-weather rated batteries!
You should also check the exact placement of your yard spikes before the ground freezes solid. The winter sun sits much lower in the sky than it does in the summer.
A spot that gets full sun in July might be completely shaded by your house or trees in December. Move your light stakes to the brightest, most exposed areas of your yard to maximize their charging time.
Want to see a visual demonstration of how to properly apply silicone and inspect your fixtures? Watch this incredible breakdown below:
Check out this fantastic, easy-to-follow video that shows exactly how to waterproof your garden equipment in under five minutes!
Daily and Weekly Maintenance for Freezing Weather
Leaving your equipment outside means you need to adopt a quick winter maintenance routine. Do not worry, this will not take up much of your time. A few minutes a week is all you need to keep your yard glowing brightly.
The Importance of Clearing Snow
Whenever a fresh layer of snow falls, it completely covers the small dark panels on top of your fixtures. Even a light dusting of snow is enough to block out the sun's charging rays.
Make it a habit to walk around your yard after a snowstorm and gently wipe the tops of your units. Do not use hard plastic scrapers, shovels, or rough brushes. These tools will permanently scratch the sensitive coating on the panels, making them cloudy and useless.
Simply use your gloved hand or a soft, dry cloth to brush the fluffy snow away. If there is a hard layer of solid ice stuck to the top, do not try to chip it off with force. You can wipe it with a cloth dipped in slightly warm water to melt the ice safely.
Upgrading to Winter-Ready Batteries
If you notice your units are only staying on for an hour or two after a full day of winter sun, your batteries are struggling. Standard factory batteries are usually very cheap and lack the capacity to handle freezing nights.
You can significantly improve their performance by upgrading to high-quality, cold-weather rated rechargeable batteries.
Look for top-tier NiMH replacement batteries that advertise a higher mAh (milliampere-hour) rating. A higher mAh number means the battery acts like a bigger gas tank, storing more energy during the short daylight hours.
Comparing Battery Types for Cold Weather
Not all batteries handle the cold equally. Understanding the difference will help you make a smarter purchase for your outdoor setup.
If your specific model supports Lithium-Ion Phosphate cells, those are generally the absolute best performers in sub-zero conditions. Always check your manufacturer's label before swapping battery types, as the voltages must match perfectly.
Spotting Trouble Before It Ruins Your Equipment
Being observant will help you catch small issues before they become massive, expensive problems. You should do a quick visual inspection of your yard setup at least once a month during the cold season.
Looking for Internal Condensation
The most obvious sign that your winterizing efforts have failed is seeing water droplets trapped inside the clear plastic lens. If you see fog or condensation building up inside the bulb area, you have a leak.
You must act quickly when you see this. Bring the affected unit inside your warm house immediately and open it up. Let it air dry completely on a towel for at least two days before sealing it back up with fresh silicone.
Leaving a foggy light outside during a freeze guarantees that the internal electronics will be destroyed by ice expansion.
Dealing with Corroded Terminals
Sometimes moisture sneaks in no matter how hard we try. If your unit completely stops turning on, open the battery door and check the metal springs.
If you see a crusty white or rusty brown powder on the metal, that is corrosion from moisture and battery acid. You do not have to throw the whole unit away just yet!
You can easily clean this off using an old toothbrush dipped in a mixture of white vinegar and baking soda. Gently scrub the metal contacts until they are shiny again, wipe them dry, and put in a fresh battery. This simple cleaning trick resurrects so many "dead" outdoor electronics that people normally throw in the garbage.
Adjusting Your Expectations for Winter Performance
Even if you follow every single protective step perfectly, you need to be realistic about winter lighting. The days are incredibly short, often offering only eight hours of weak sunlight.
Because of this, your pathway markers will naturally not stay illuminated as long as they do in the middle of summer. A strong eight-hour glow in July might become a three-hour glow in December.
This is completely normal and does not mean your equipment is broken. The goal of winterizing is not to force them to run all night. The goal is to physically protect the delicate parts from cracking, rusting, and freezing so they survive until spring.
By taking a few minutes to clean the panels, seal the plastic seams, and swap out weak batteries, you are actively protecting your investment. You can easily enjoy a beautifully illuminated, safe driveway even on the coldest, darkest nights of the year. Treat your outdoor gear with a little extra care, and it will keep your home bright and welcoming through any winter storm.
Master-Level Secrets to Extend Solar Light Lifespan in the Cold
Once you understand the basic maintenance steps, you can move on to a few expert-level tricks that most average homeowners never think about. These advanced strategies will completely change how you manage your outdoor electronics. You will no longer feel anxious when the weather forecaster predicts a heavy snowstorm.
I learned some of these methods the hard way after experimenting with dozens of different brands in my own backyard. The main secret to long-term success is working with the winter environment instead of fighting against it. By making a few smart adjustments, you can easily double or even triple the life of your equipment.
The Winter Angle Adjustment Trick
During the summer, the sun sits very high up in the sky, pouring direct energy straight down onto your yard. In the freezing months, the sun's path drops significantly lower toward the horizon. If your small charging panels are completely flat, they are missing out on hours of usable energy.
You can manually tilt your fixtures slightly toward the south to catch those low-hanging winter rays. If you want a deeper dive into the science of how sunlight converts into household electricity, understanding this angle adjustment is a great starting point. Even a tiny fifteen-degree tilt can make a massive difference in how much power your battery stores for the night.
Some premium models come with adjustable heads just for this purpose. If yours are fixed in place, try gently pushing the mounting stake into the soil at a slight angle before the ground freezes solid.
Utilizing the Magical "Albedo Effect"
Did you know that heavy snow can actually help your charging process if you manage it correctly? This is due to a scientific concept known as the albedo effect, where white surfaces reflect solar radiation back into the atmosphere. According to data from the National Snow and Ice Data Center, fresh white snow reflects a huge percentage of sunlight.
You can use this reflection to your advantage by keeping the immediate area around your fixtures clean and bright. As long as you brush the snow off the actual dark panel, the surrounding white snow acts like a giant mirror. It bounces extra light right back up into the photovoltaic cells from different angles.
This means your yard markers might actually charge faster on a bright, snowy day than they do on a muddy, gray afternoon. It completely changes the way you look at a fresh snowfall!
The Clear Nail Polish Sealant Hack
Sometimes you will notice tiny, hairline scratches on the top clear coat of your panel. These tiny micro-abrasions happen when blowing ice or rough debris hits the top of the fixture. While they look harmless, they are actually tiny entry points for freezing moisture.
If you do not want to use messy silicone paste, grab a simple bottle of clear fingernail polish from your bathroom. Carefully paint a very thin, even layer over the top of the scratched surface and let it dry in the sun. This creates a perfectly smooth, waterproof barrier that stops moisture dead in its tracks.
Just be careful not to paint it on too thick, or it will block the light from reaching the internal cells. This is a five-minute hack that costs practically nothing but saves expensive equipment from early ruin.
Upgrading to Metal Ground Stakes
We often forget about the part of the fixture that sits underneath the freezing soil. Most budget-friendly options come with cheap, hollow plastic ground stakes that become incredibly brittle in freezing temperatures. When the wet soil freezes and expands, it can easily crush these plastic stakes into sharp pieces.
Before winter fully sets in, I highly recommend swapping those plastic spikes for solid aluminum or coated steel stakes. You can buy universal metal replacement stakes online for just a few dollars. A solid metal base ensures your expensive tops will not suddenly snap off and fall face-down into a wet snowbank.
If you are dealing with a larger home energy setup and noticing strange noises from your main power system during cold dips, you might want to learn why your solar inverter is beeping and how to fix it. Maintaining the small yard equipment often teaches us great habits for managing bigger home energy systems.
The Most Expensive Winterizing Blunders Homeowners Make
Even with the best intentions, people often do things that accidentally destroy their yard accessories faster than the cold weather would. These mistakes usually happen because we apply indoor cleaning logic to sensitive outdoor electronics. Avoiding these common pitfalls will save you from major headaches and wasted money.
Let us look closely at the worst things you can do to your outdoor lighting setup when the temperature drops.
Mistake 1: The Boiling Water Defrost Method
This is by far the most heartbreaking mistake I see people make every single year. You walk outside, see your expensive glass path markers covered in a thick layer of hard ice, and decide to melt it quickly. You grab a pitcher of hot water from the kitchen and pour it directly over the fixture.
The immediate result is a loud, awful popping sound. The extreme temperature shock causes cold glass and hard plastic to shatter instantly into hundreds of pieces. Never use hot water to melt ice on cold outdoor electronics.
Instead, bring the frozen unit indoors and let it sit on a towel at normal room temperature. It might take an hour or two, but it will thaw naturally without cracking the protective casing. Patience is your best friend when dealing with frozen equipment.
Mistake 2: Using Chemical De-Icers or Salt
When you are salting your icy driveway or spraying chemical de-icers on your car windshield, it is tempting to spray your yard markers too. This is a terrible idea that will permanently ruin the finish on your equipment.
Chemical melting sprays contain harsh compounds that immediately eat away at the protective clear coat on photovoltaic cells. Once that coating is chemically burned, the panel will turn cloudy yellow and never absorb sunlight properly again.
Similarly, tossing rock salt near the base of your aluminum or stainless steel fixtures will cause rapid, aggressive rust. The salty melted snow splashes onto the metal poles and eats completely through them by springtime. Always keep chemical melters and driveway salt far away from your delicate garden accessories.
Mistake 3: The "Plastic Bag Wrap" Disaster
Some well-meaning homeowners try to protect their gear by wrapping the entire top housing tightly in a plastic grocery bag. They tie it off with a rubber band, thinking they have created a perfect waterproof shield.
Unfortunately, this actually creates a deadly miniature greenhouse environment. The cold ground pushes natural moisture up through the base, and the plastic bag traps it inside the head unit. Because the moisture cannot escape, it completely floods the internal circuit board and destroys the battery.
If you are a fan of global home improvement ideas, you will know that proper ventilation is always key for outdoor structures. Your electronic fixtures need to "breathe" slightly to let natural condensation evaporate during the day. If you want to protect them from snow, bring them inside; do not suffocate them in plastic.
Mistake 4: Ignoring the Manufacturer’s Temperature Rating
We often throw away the instruction manual the second we open a new box. Because of this, we miss highly specific warnings about operating temperatures. Research from battery technology experts at Battery University shows that certain lithium cells can suffer permanent damage if charged below freezing.
If a box specifically states the product should not be operated below 32°F (0°C), you must take that warning seriously. The internal wiring is simply not insulated enough to handle deep freezes.
Leaving a non-winter-rated model out in a blizzard guarantees a completely dead unit by morning. Taking five minutes to read the original packaging can literally save your entire investment.
A Smart Action Plan for a Beautiful, Freeze-Free Yard
We have covered a massive amount of helpful information today, and you are now fully equipped to protect your yard. You no longer have to guess why your pathway markers are failing or spend money replacing them every spring.
You understand the secret dangers of expanding ice and sluggish battery chemistry. More importantly, you have a solid toolkit of practical methods to fight back against the harsh weather.
Your Weekend Preparation Checklist
To make things incredibly easy, I want to give you a quick checklist you can use this coming weekend. Treat this like a fun little outdoor project before the real cold sets in.
- Step One: Walk your property and decide which units will stay outside and which will go into storage.
- Step Two: For the ones staying out, clean the top panels with a soft, dry microfiber cloth.
- Step Three: Inspect the clear plastic housing and seal any tiny gaps with clear nail polish or silicone.
- Step Four: Remove the batteries from the units you are storing indoors and put them in a dry, safe place.
- Step Five: Swap the cheap plastic ground spikes for sturdy metal ones in the areas where the snow gets piled the highest.
By following these five simple steps, you are actively ensuring your property stays bright, safe, and beautiful all season long. You will feel a huge sense of relief knowing your expensive equipment is fully protected.
As someone who loves testing home gadgets, I can promise you that putting in a little bit of effort right now pays off massively later. I no longer stress about walking to my car on dark, icy mornings because my driveway stays perfectly illuminated. Take an hour this weekend to prep your gear, and you will enjoy the peace of mind you absolutely deserve!
Frequently Asked Questions About Freezing Weather and Solar Gear
Will heavy snow permanently ruin my outdoor lights?
Heavy snow itself will not permanently ruin your equipment as long as the internal seals are strong. The real danger happens when melting snow turns into water, sneaks inside the casing, and freezes into expanding ice. Keep the heavy snow brushed off, and your equipment should survive just fine.
Do solar panels still charge on cloudy winter days?
Yes, they absolutely do! While direct sunlight is always best, modern photovoltaic cells can still generate a small electrical charge from scattered, indirect daylight. According to the Department of Energy, photovoltaic technology still performs well in cold climates, though the shorter days mean you will get fewer hours of nighttime illumination.
How do I stop moisture from getting inside the glass?
The best way to stop moisture is by doing a quick inspection of the rubber gaskets around the lens cover. If you see any loose spots, run a very thin line of clear outdoor silicone caulk around the edge. This blocks out rain, melting ice, and high humidity perfectly.
Can I leave my glass decorative solar globes out all winter?
It is highly recommended that you bring delicate glass globes inside during deep freezes. Thin decorative glass is extremely sensitive to sudden temperature drops and can shatter easily in sub-zero winds. It is better to store them safely indoors and rely on durable plastic or metal fixtures for your winter needs.
Why do my batteries drain so fast in December?
Cold temperatures slow down the chemical reactions inside your rechargeable batteries, reducing their overall capacity to hold power. Combined with the very short daylight hours in December, the battery simply cannot get a full charge. Upgrading to high-capacity NiMH cold-weather batteries will easily solve this annoying problem.
Disclaimer: The information provided in this article is for general educational and informational purposes only. Always consult the manufacturer's manual and guidelines before performing maintenance on electronic devices or batteries. The author and publisher are not responsible for any damage, injury, or loss resulting from the application of these tips. Affiliate links may be present on this site, but this particular post does not contain sponsored commercial promotions.