My Personal Nightmare With Going Green
I almost ruined my house trying to save the planet. Seriously. I slapped massive solar panels onto an aging roof without a second thought, and the first major rainstorm turned my bedroom ceiling into a waterfall. I thought I was doing something great for my wallet and the environment, but I completely ignored the actual bones of my house. If you are thinking about upgrading your home's energy, let me save you from making the exact same expensive mistake I did.
That single assumption turned into one of the most expensive mistakes of my life. Just a few months after the heavy equipment was bolted down, the heavy seasonal rains started pouring. I woke up one night to the horrifying sound of water dripping directly onto my bedroom ceiling.
Because I never checked the underlying health of my shingles and weatherproofing, the new weight and the drilling completely compromised my home. The water damage ruined my drywall, destroyed my attic insulation, and cost me thousands of dollars in emergency repairs.
I had to pay a crew to come out, remove all the expensive new equipment, fix the rotting wood, and then reinstall everything from scratch. It was a stressful, financially draining nightmare that entirely wiped out any savings I hoped to make from generating my own electricity.
When your foundation fails under the pressure of new technology, your daily life turns into endless stress. You spend your nights worrying about the next rainstorm instead of enjoying the comfort of your home. You end up fighting with insurance companies, arguing with contractors, and watching your hard-earned money drain away.
Before You Bolt Anything to Your Roof (Quick Summary):
- Check the Shingles: If your top layer is over 10 years old, replace it before adding heavy hardware.
- Inspect the Attic: Look for soft, spongy wood or dark water stains—your wooden frame must support hundreds of extra pounds.
- Guard Against Leaks: Demand high-quality metal flashing and heavy-duty silicone sealants around every drilled hole.
- Manage the Shadows: Trim back large tree branches by at least 15 feet to maximize sunlight and avoid shattered glass.
Assessing the True Age and Health of Your Current Shingles
You cannot build a solid castle on top of sinking sand. Before you even think about signing a contract for green energy, you need to play detective with your current housing materials. Most modern mounting systems are designed to sit exactly where they are for at least two decades.
If your current surface materials only have five years of life left in them, you are setting yourself up for a massive headache. Removing the entire system just to replace the worn-out materials underneath is a massive hidden cost. You will be forced to pay specialized technicians twice for the exact same labor.
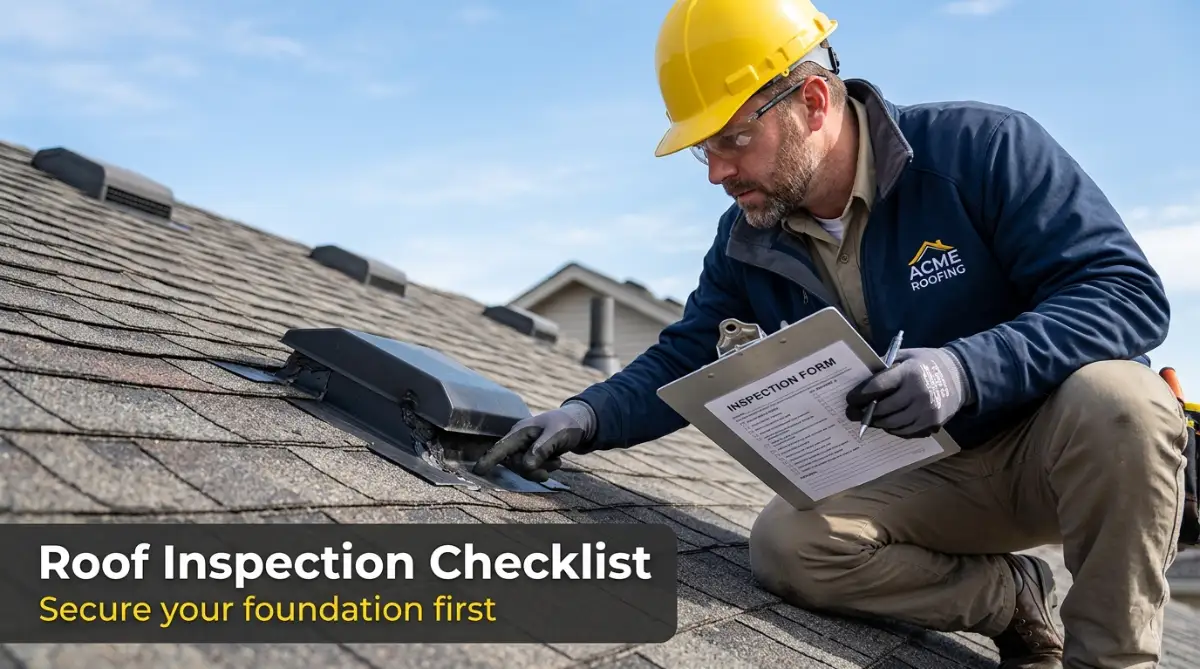
Start by walking around your property with a pair of binoculars and looking closely at the top of your house. You are looking for any shingles that are curling at the edges, cracking in the middle, or completely missing. Also, take a close look inside your gutters for excessive sand-like granules, which is a clear sign that the protective layer is completely worn away.
If your protective top layer is more than ten years old, you seriously need to consider replacing it right now. I know it sounds like a lot of extra money upfront, but grouping these two major home improvement projects together often saves you money in the long run. Many contractors offer deep discounts when they coordinate these projects at the same time.
Quick Cost Reality Check: Replacing Roof NOW vs. LATER
| Action Plan | Immediate Cost | Long-Term Hidden Fees | Hassle Level |
| :--- | :--- | :--- | :--- |
| Replace Roof Before Solar | Higher upfront ($5k - $10k) | $0 in removal fees | Very Low |
| Ignore Old Roof Now | Zero | $3k+ to remove/reinstall solar panels later | Extremely High |
My honest advice: Do the math. Paying twice for labor later is the worst feeling in the world.
The Hidden Structural Weight Test
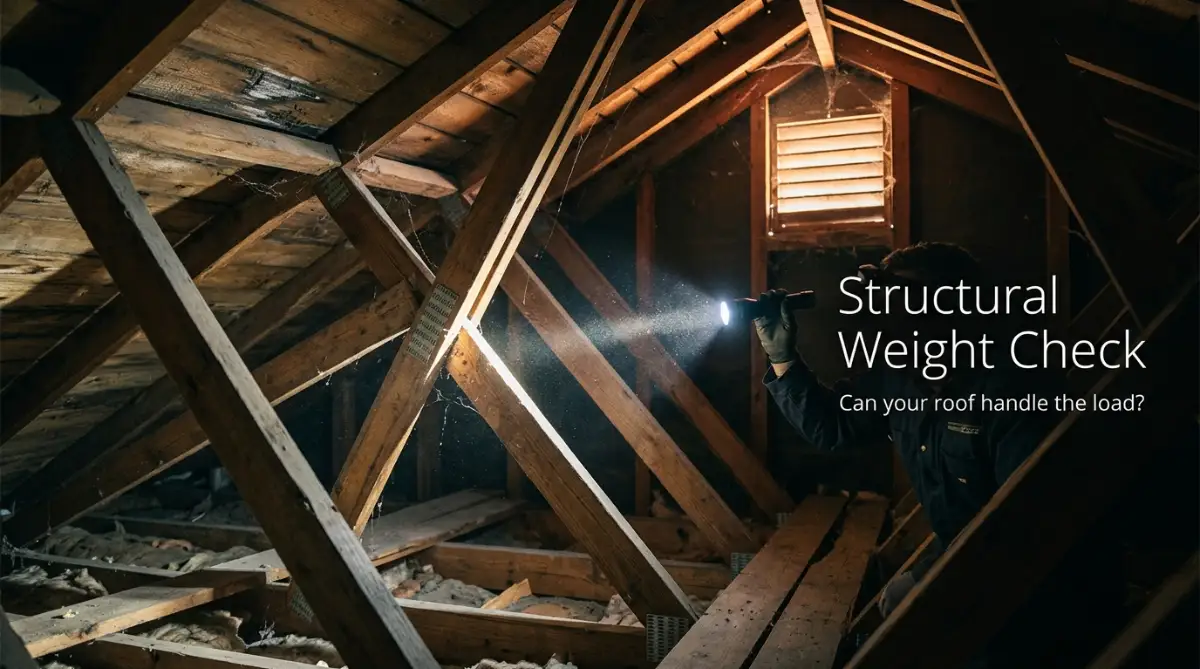
Even if the outside of your house looks absolutely perfect, the inside might be telling a completely different story. Adding heavy glass, metal frames, and wiring to the very top of your house adds a massive amount of "dead weight." This means your wooden framework has to support hundreds of extra pounds 24 hours a day, 365 days a year.
You need to grab a strong flashlight and head up into your attic space for a careful inspection. Look directly at the wooden rafters and trusses that hold everything up above your head. Do you see any wood that looks bent, sagging, or shows dark water stains?
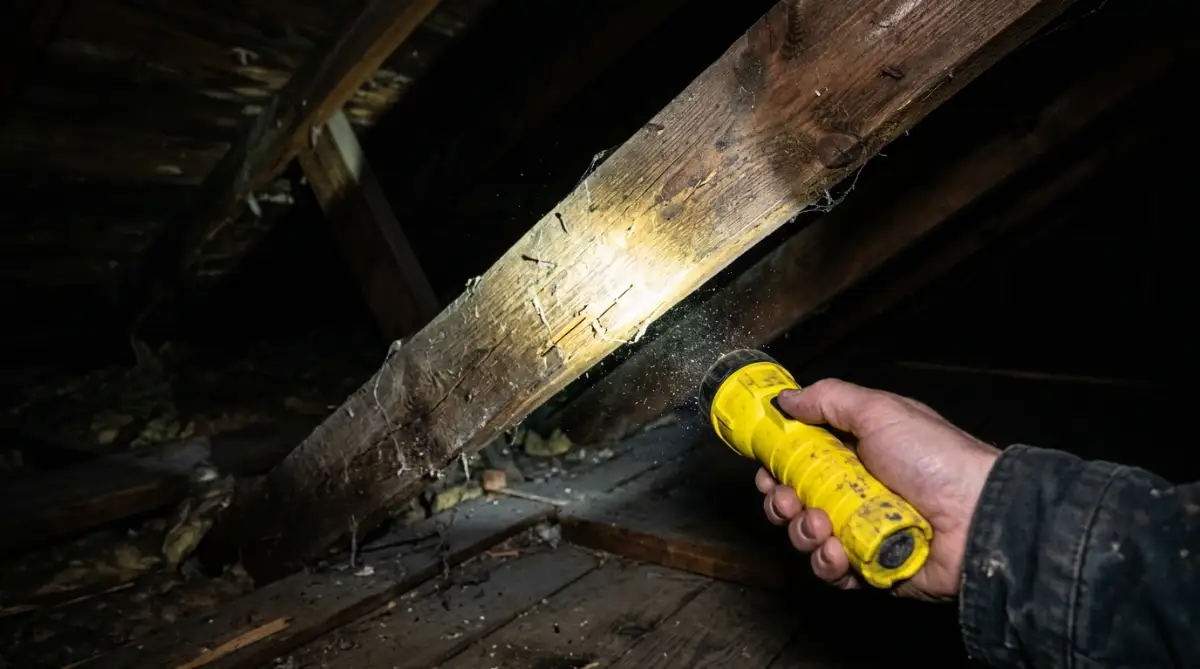
Pro Tip: I learned the hard way that a quick glance from the attic door isn't enough. I highly recommend carefully crawling into the corners of your attic to press on the wooden beams with a screwdriver. If the wood feels soft, spongy, or crumbles under light pressure, you have hidden rot that must be fixed immediately.
If your framework is showing signs of extreme age or bowing, it simply cannot safely hold the new equipment. You will need to hire a structural carpenter to install extra support beams before proceeding. This process is called "sistering" the joists, where they attach fresh, strong wood directly alongside the old beams for maximum strength.
Weatherproofing and The Penetration Points
Attaching heavy equipment to the top of your house requires drilling dozens of deep holes straight into your wooden framing. Every single one of those drilled holes is a potential entry point for heavy rain, melting ice, and destructive moisture. Keeping the water out is the single most important part of this entire preparation journey.
The professional installers will use long metal screws called lag bolts to secure the heavy metal rails to your framework. If a worker misses the wooden beam by even half an inch, that hole goes straight into empty attic space. You must ensure that your chosen company uses top-tier weatherproofing techniques to seal every single gap.
They need to use metal shields called "flashing" that slide under your existing materials to redirect water away from the newly drilled holes. On top of the flashing, they should apply high-quality, weather-resistant silicone sealants. Do not be afraid to ask your contractor exactly what kind of waterproofing methods they use for their installations.
Watch This Helpful Breakdown
Understanding how installers protect your roof from heavy rain and leaks is the smartest way to protect your home investment.
Navigating Shadows and Overhanging Trees
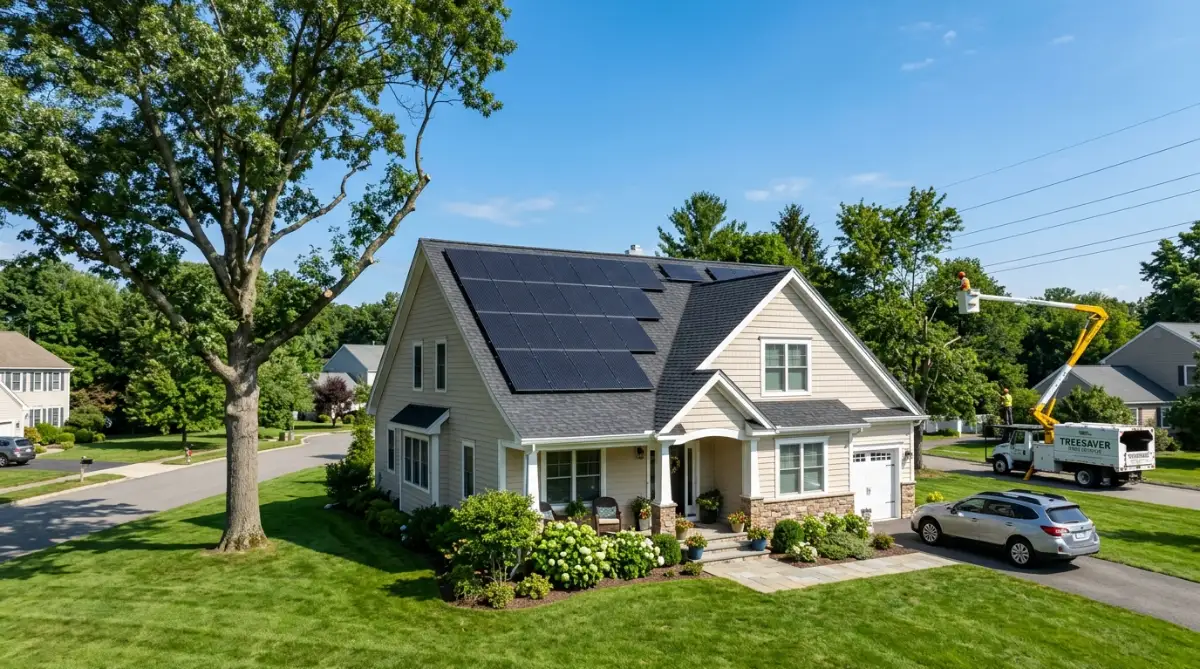
Your new green technology needs clear, uninterrupted access to bright sunlight to actually save you money. However, a lot of homeowners fail to properly evaluate the living nature surrounding their property. That beautiful, giant oak tree in your backyard might become your biggest enemy once the heavy equipment is turned on.
As the sun moves across the sky throughout the day, tall trees will cast long, dark shadows across your property. Even a small shadow falling across a tiny section of your new setup can drastically reduce the power output of the entire system. You have to plan ahead by looking at how the sunlight hits your house during the early morning and late afternoon hours.
Tree branches also present a significant physical danger to your expensive new hardware. Heavy storms, strong winds, and heavy ice can easily snap dead branches and send them crashing down onto the fragile glass surfaces. Fixing a shattered surface caused by a falling branch is a completely preventable expense.
Before installation day, hire a professional tree trimming service to cut back any overhanging branches. You want to create a clear buffer zone of at least ten to fifteen feet away from your home's exterior edges. This also prevents annoying bird droppings and sticky tree sap from covering the glass and blocking the essential sunlight.
Understanding Roofing Materials and Compatibility
Not all residential building materials are created equal when it comes to holding heavy modifications. The type of surface you currently have will completely dictate the installation methods, the overall costs, and the level of risk involved. You must know exactly what you are working with before signing anything.
Standard Asphalt Shingles:
This is the absolute best-case scenario for any homeowner looking to upgrade. These standard materials are incredibly easy to work with, simple to drill through, and very cheap to replace. Most installation crews love working with this standard material because the waterproofing process is extremely straightforward.
Clay and Concrete Tiles:
If you live in a warm climate, you probably have these beautiful, heavy tiles protecting your home. While they look amazing, they are incredibly fragile when somebody tries to walk on them. The installation crew will actually have to remove the individual tiles, install special mounting hooks underneath, and then carefully cut the tiles to fit back around the heavy metal mounts.
Standing Seam Metal:
This is quickly becoming the favorite material for green energy enthusiasts everywhere. If you have a standing seam metal surface, the workers do not even need to drill holes into your house. They simply use heavy-duty clamps that tightly grab the raised metal seams, meaning there is zero risk of water leaks from drilled holes.
The Great Warranty Coordination Battle
One of the most complicated parts of this entire journey is dealing with the paperwork and promises from different companies. Your original house builder or roofing contractor gave you a warranty that promises to fix any sudden leaks. However, that warranty comes with strict rules about who is allowed to modify the structure.
The absolute moment a different company drills a massive hole into your ceiling, your original warranty is usually instantly canceled. The original company will rightfully argue that they are no longer responsible for water damage caused by someone else's drill bit. You are suddenly left completely unprotected if a major storm causes severe water damage.
You must be incredibly proactive in getting both companies to communicate directly with each other. Call the company that originally built your roof and ask them exactly what their policy is regarding modifications. Sometimes, they will allow the project to move forward without canceling the warranty, provided they are allowed to do a final inspection.
If your original warranty is going to be voided, you need an ironclad written guarantee from the new installation company. They must provide a specific "roof penetration warranty" that clearly states they will pay for any water damage caused by their heavy equipment. Never settle for a simple verbal promise; make sure everything is clearly detailed in your final contract.
Myth vs Reality: The Protection Illusion
There is a very dangerous rumor floating around the home improvement community right now. Many salespeople will try to convince you that adding this heavy technology actually protects the fragile shingles underneath from bad weather. They claim that because the glass blocks the sun and the rain, you do not need to worry about fixing older shingles first.
The Reality Check:
While it is true that the hardware blocks direct sunlight from hitting a specific square area, it completely ignores the flow of water. Rainwater aggressively rushes around the heavy metal mounts, creating new, high-pressure rivers of water that flow down your house. If the materials underneath are already weak, this concentrated rushing water will quickly tear them apart.
Furthermore, the space between the glass and your house becomes a very attractive nesting ground for small animals. Pigeons, squirrels, and raccoons love the warm, protected shade created by the metal brackets. If your underlying materials are soft and old, these animals will easily chew straight through the rotting wood into your warm attic.
Always demand the installation of a sturdy metal pest guard around the outer edges of the entire system. This thick wire mesh prevents any animals from getting underneath and destroying the vital electrical wires. Fixing chewed wires requires the entire system to be unbolted, lifted up, and completely rewired, which is an incredibly expensive repair process.
Smart Preparation Secrets You Should Never Ignore
Getting your house ready for a massive energy upgrade isn't just about hammering a few loose boards back into place. To truly protect your home for decades, you have to think like a professional engineer looking at the entire system from top to bottom. The smartest homeowners understand that true preparation starts months before the installation crew even parks in the driveway.
You need to schedule a completely independent roof inspection before signing any solar contracts. Do not rely solely on the inspection provided by the green energy company, because their main goal is simply to sell you their hardware. An independent, certified roofing inspector will give you the harsh, unbiased truth about your underlying shingles and wooden supports.
I strongly recommend asking your independent inspector to perform a specialized moisture scan across your entire top surface. Professional inspectors use advanced thermal imaging technology to find hidden pockets of water trapped deep underneath the shingles that the naked eye cannot see. If you accidentally bolt heavy hardware over trapped moisture, the heat generated by the glass will literally boil that water, instantly rotting the wood below.
Maximize Your Attic Ventilation Strategy
One of the biggest secrets that average salespeople completely fail to mention is how hot the new equipment actually gets. Heavy sunlight beating down on dark glass surfaces creates a massive amount of trapped heat directly above your living space. If that heat cannot escape properly, it will bake your shingles and drastically reduce their lifespan.
You must take a hard look at your current attic ventilation setup before anyone starts drilling holes. Make sure you have enough open soffit vents under your roof edges to pull in fresh, cool air from the outside. You also need strong exhaust vents, like a ridge vent or spinning turbines, to quickly push that trapped, superheated air back outside.
If your current ventilation is poor, the intense heat radiating from the newly installed hardware will essentially cook your house from the top down. This extreme temperature shift can warp your wooden framework and force your air conditioning system to work twice as hard during the summer. Spending a little bit of money upgrading your attic fans now will save you a fortune in future cooling costs.
Planning the Wire Management Pathways
When you generate your own electricity, you have to safely transport that massive electrical load down into your main breaker box. Most people completely forget about how thick, ugly black wires are going to travel down the side of their beautiful home. Without proper planning, sloppy wire management can ruin the entire curb appeal of your property.
Talk to your project manager early about hiding the primary conduit pipes inside your attic or behind your rain gutters. The absolute best-case scenario is routing the electrical lines completely inside the walls, hiding them entirely from the street view. If the wires must run on the outside of your house, insist that they paint the metal pipes to perfectly match the color of your exterior siding.
My "Ugly Wire Prevention" Checklist:
Before the crew starts drilling, make sure you force them to answer these three questions:
- Are you running the conduit inside the walls or outside?
- If outside, can you tuck the wires behind the rain gutters?
- Will your team paint the metal pipes to match my house siding, or do I have to do it?
Pro Tip: I completely forgot to ask about wire routing during my first consultation, and the crew simply bolted a thick, ugly silver pipe straight down the middle of my front wall. I had to spend an entire weekend painting over it myself just to make it blend in. Always agree on the exact visual pathway before the workers even pick up their tools.
Disaster Traps Homeowners Fall Into Every Day
When you start chasing the dream of free electricity, it is incredibly easy to overlook massive warning signs waving right in front of your face. People get blinded by the excitement of going green and end up skipping the hard, boring preparation steps that actually keep a house standing. Falling into these common traps will instantly turn your dream project into a never-ending financial nightmare.
The single most dangerous trap is ignoring the heavy buildup of moss and algae on your current shingles. Many folks think a little bit of green fuzz is perfectly fine, assuming the heavy glass hardware will simply cover it up anyway. But moss is a living sponge that holds massive amounts of moisture directly against your fragile roofing materials.
If you install a heavy mounting rack directly over active moss, that trapped moisture will completely rot away the wood underneath within a single season. The heavy lag bolts will lose their grip in the rotting wood, causing the entire metal rack to become dangerously loose. You must have your roof professionally deep-cleaned and treated to kill all organic growth weeks before the mounting rails are attached.
Refusing to Upgrade an Outdated Electrical Panel
You can have the strongest, most beautifully prepared surface in the world, but it means absolutely nothing if your electrical foundation is weak. A lot of older homes still use original, outdated 100-amp electrical panels that simply cannot handle a massive influx of raw power. Trying to push a massive new energy source into a small, old box is a recipe for a catastrophic electrical fire.
Homeowners constantly try to cut corners by skipping this expensive electrical upgrade to keep the initial project cost down. They convince themselves that their old breaker box has worked perfectly fine for twenty years, so it should handle the new load just fine. But modern energy setups require a robust 200-amp panel to safely process the raw electricity and send it backward into the local grid.
If your panel is old, rusty, or constantly tripping breakers right now, you must replace it before adding anything new. A proper home electrical system upgrade ensures that the high voltage generated by your shiny new hardware doesn't burn your entire house to the ground. It is the invisible safety net that makes your whole investment worthwhile.
The HOA and Permit Nightmare
Another huge mistake is rushing into the installation process without securing the proper legal permissions from your local government and neighborhood associations. I have seen homeowners complete massive structural preparations, only to be hit with a "cease and desist" order on the very first day of installation. Ignoring local building codes is the fastest way to get your entire project legally shut down.
If you live in a neighborhood with a strict Homeowners Association (HOA), you must submit your final design plans for formal approval first. Many HOAs have strict rules about how much hardware can be visible from the street, and they will force you to rip everything down if you break those rules. Getting written approval from your local architectural committee saves you from massive legal headaches later.
Furthermore, you must ensure your chosen contractor actually pulls the correct building and electrical permits from your city planning office. If they try to convince you that permits aren't necessary for a quick job, immediately cancel the contract and find a new company. Skipping the official city inspection means you have zero proof that the work was done safely, which will make it almost impossible to sell your home later.
A Brighter, Stronger Foundation for Tomorrow
Building a sustainable home is an incredibly rewarding journey, provided you respect the heavy lifting your property has to do. We covered a lot of technical ground today, from testing the actual strength of your hidden wooden rafters to ensuring every single drilled hole is permanently waterproofed. The time and energy you spend preparing the top of your house today directly translates into decades of stress-free living.
Remember, you are not just slapping some heavy glass onto a piece of wood; you are completely upgrading the mechanical heart of your property. By coordinating independent inspections, clearing away dangerous tree branches, and upgrading your old electrical panel, you take total control of the situation. Taking these smart, proactive steps ensures that your home will safely support this amazing technology through the heaviest storms and the hottest summers.
Honestly, preparing my own home properly the second time around completely changed how I look at sustainable living. I no longer panic when I hear heavy rain hitting the glass above my head, because I know my foundation is rock solid. Start making those essential phone calls today, schedule a deep structural inspection, and take that powerful first step toward true energy independence!
Common Questions About Roof Readiness
Do I really need to replace my shingles if they still look okay?
If your current shingles are more than a decade old, you really should replace them before moving forward. Removing heavy hardware later just to fix the old materials underneath will cost you thousands of extra dollars in labor fees.
How heavy is all this new equipment going to be?
A standard residential setup typically adds about three to four pounds of weight per square foot to your existing structure. While this doesn't sound like a lot, that constant pressure quickly adds up, which is exactly why a proper structural inspection is mandatory.
Will drilling holes cause my ceiling to leak?
If the installation crew is properly trained, drilling holes will never cause a leak inside your home. Professional installers use metal flashing shields and heavy-duty silicone sealants specifically designed to keep every single drop of water out.
Can I prepare the surface myself to save money?
You should definitely trim your own trees and clean your gutters, but you should never attempt structural testing or wire routing yourself. Always hire a certified professional for deep inspections to ensure you don't accidentally miss hidden rot or damage.
What if my local energy grid goes down during a storm?
To keep your lights on during a blackout, you must have a proper battery storage system perfectly integrated into your upgraded electrical panel. You can learn more about securing true independence by reading this guide on how to disconnect from the grid safely.
Disclaimer: The information provided in this article is for educational and informational purposes only and should not be considered professional engineering, roofing, or electrical advice. Always consult with certified, licensed professionals before making significant structural modifications or electrical upgrades to your home.